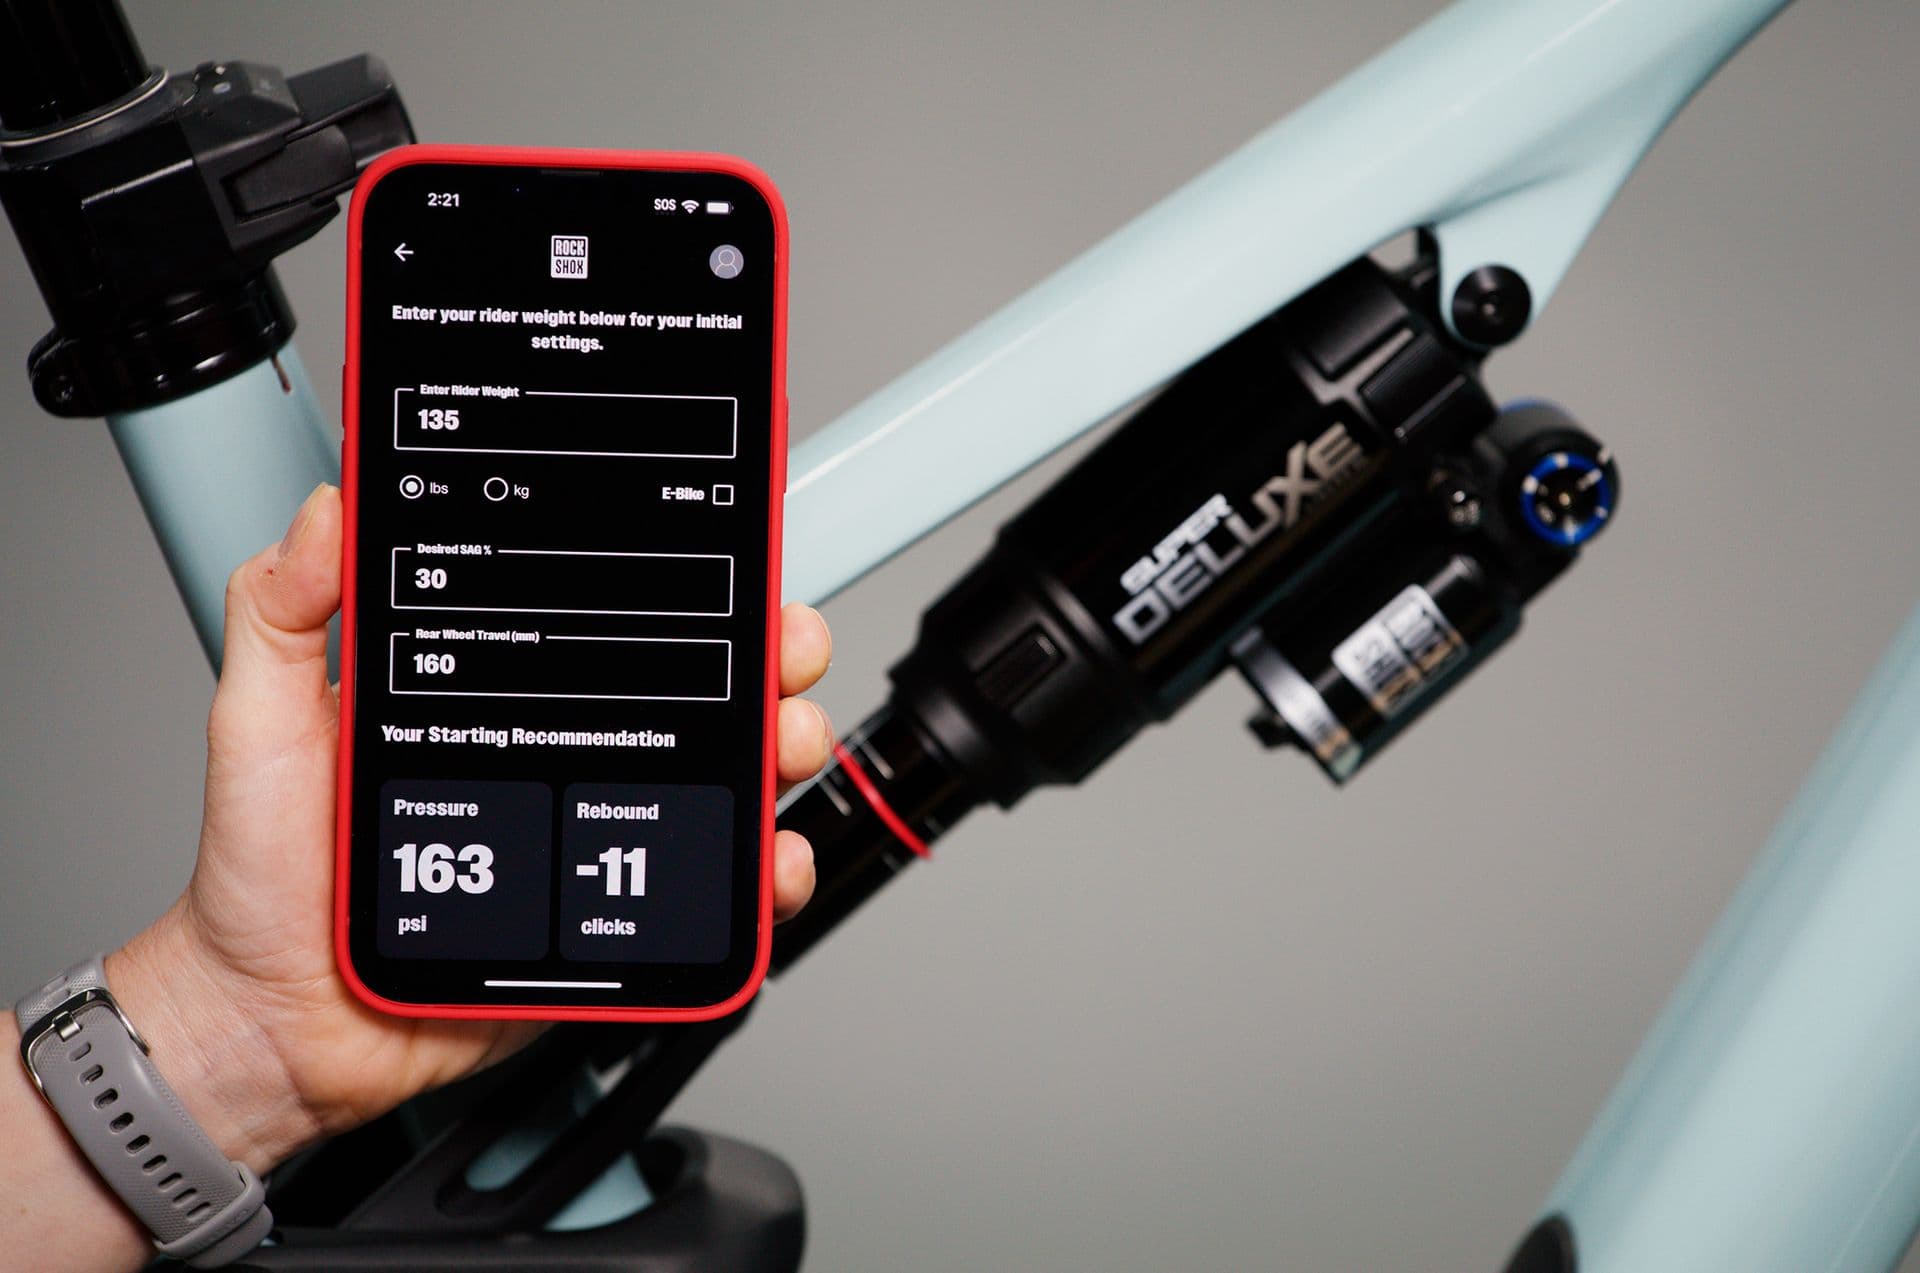
A well set-up fork and shock make more difference to how an eMTB rides than almost any upgrade you can buy. With a motor and a big battery on board, an eMTB is heavier than a regular trail bike, so the fork and shock have more mass to control.
The good news is that every major suspension brand publishes a starting point. This guide explains the basic eMTB suspension setup procedure that works for any air fork or shock, then lists what Fox, RockShox, Öhlins and Marzocchi recommend for their own products. If you are still choosing a spring type, read our explainer on air vs coil forks first.
Before you start
You need a shock pump with a gauge, a zip tie if your fork or shock has no sag O-ring, a tape measure and your full riding kit. One rule comes before any brand chart: if your bike maker publishes its own setup guide, use it. Frame kinematics change how a shock behaves, and many eMTB brands print model-specific tables.
Setting sag on any air fork or shock
- 01Open the damper Turn off any lockout or climb lever and put the compression lever in Open.
- 02Set a starting pressure Use the brand's chart, the sticker on the fork leg or the brand's app. RockShox also asks you to equalise the air chambers (see below).
- 03Dress to ride Wear your helmet, shoes and hydration pack, and lean the bike against a wall.
- 04Get into position Sit or stand in your normal riding position without bouncing, then push the O-ring against the seal.
- 05Step off and measure